In our previous lesson we configured the NetInstall service and started a Mac using an installer image hosted on a server. This week we’re going to up our game a bit and create a disk image we’ll use next week to create NetBoot and NetRestore images.
Create a disk image using AutoDMG
Previously we created an installation image from a fresh copy of the El Capitan installer. This week we’re going to use a tool called AutoDMG to install OS X (or is that macOS?!?) and a couple of other apps onto a disk image we’ll use to create our next two NetInstall images.
AutoDMG is a phenomenal app that creates bootable disk images you can use to restore a single image to a single hard drive using Apple’s Disk Utility or create network images with the System Image Utility for NetBoot and NetInstall images, which is exactly what we’re going to do.
Download AutoDMG
AutoDMG is a free app, but you won’t find it on the App Store. You’ll find the most current release here, on GitHub. You’ll want to download the latest release from the link above.
AutoDMG is simple to use and I suspect you’ll find it becomes a regular part of your imaging arsenal, especially when you see how we use it here. When the download is complete, put the AutoDMG app in your server’s Applications folder.
Create an AutoDMG image
Open AutoDMG and take a look around. You’ll note, there’s not much to see, but there’s more here than meets the eye.
The AutoDMG app consists of three sections:
- Installer drop: This is where you drag your OS installer.
- Updates: AutoDMG will check to see of there are updates for your copy of the Mac OS installer. If there are you can download them, and the updates will be applied to your fresh installation of the OS.
- Additional software: If there are other applications you want added as part of your OS installation you can drag them here. You can add drag-and-drop applications and package installers to “Additional software” and AutoDMG will handle them with ease. Drag-and-drop applications will be added to the Applications folder and package installers will be run and their software and resources will be placed where they belong.
To create your image:
- Drag the
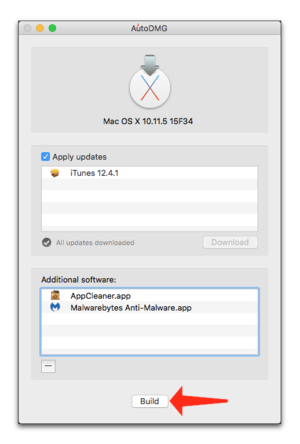
the El Capitan installer you downloaded two episodes ago to the Installer drop section of AutoDMG. AutoDMG will expand the installer and check to see if there are any updates. If the app finds updates, click the Download button.
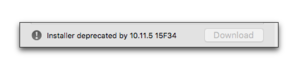
Note: If you see an error stating that your installer has been deprecated, you can still use it, but you’re better off deleting your installer and downloading a fresh copy from the App Store.
- Drag two applications to the “Additional software” section of AutoDMG. I chose freemacsoft’s AppCleaner and Malwarebytes’ Anti-Malware app.
- Click Build.
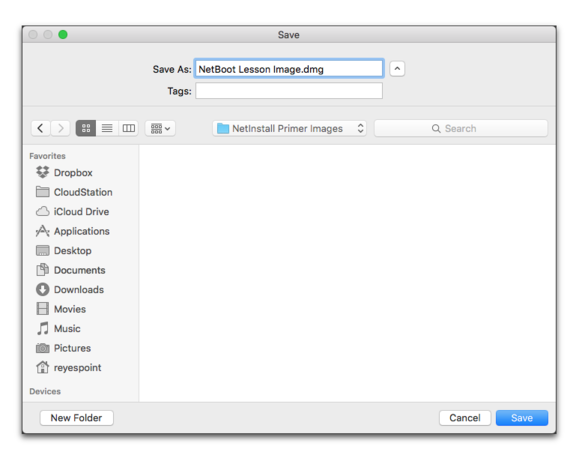
- Give your disk image a name and save it.
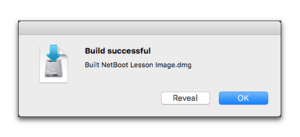
- Authenticate as an Administrator and click OK. AutoDMG will begin creating your installation image, which, depending on the speed of your computer, should take about 15 minutes.


When the disk image is complete:
- Click the Reveal button.
- Double click the disk image.
- Wait for it to verify. Note that the image is an exact replica of what you’d normally expect to find on a Macintosh hard drive.
- Double click the Applications folder and locate the apps you installed.

When you’re done taking a look around, eject the disk image and keep it in a place you’ll be able to find it. Next, we’ll use this image to create NetBoot and NetRestore images.