I’m not hearing impaired but that doesn’t prevent me from taking advantage of certain VoiceOver features on my iPhone. For instance, I sometimes use Speak Selection to get iOS to read a book to me as I’m surfing the web, or doing something else.
Being a non-native English speaker, I also rely on that feature to have my iPhone read aloud words and phrases whenever I’m unsure about their correct pronunciation, which is a lot of help—especially with the adjustable pitch and speaking rate.
Starting with iOS 8, a number of options for the Siri voices you can use for the VoiceOver, Speak Screen and Speak Selection features became available. This tutorial explains how to choose a voice for Speak Screen and Speak Selection and adjust voices for VoiceOver.
How to select VoiceOver Siri voices
1) Go to Settings → Accessibility → VoiceOver → Speech → Voices.
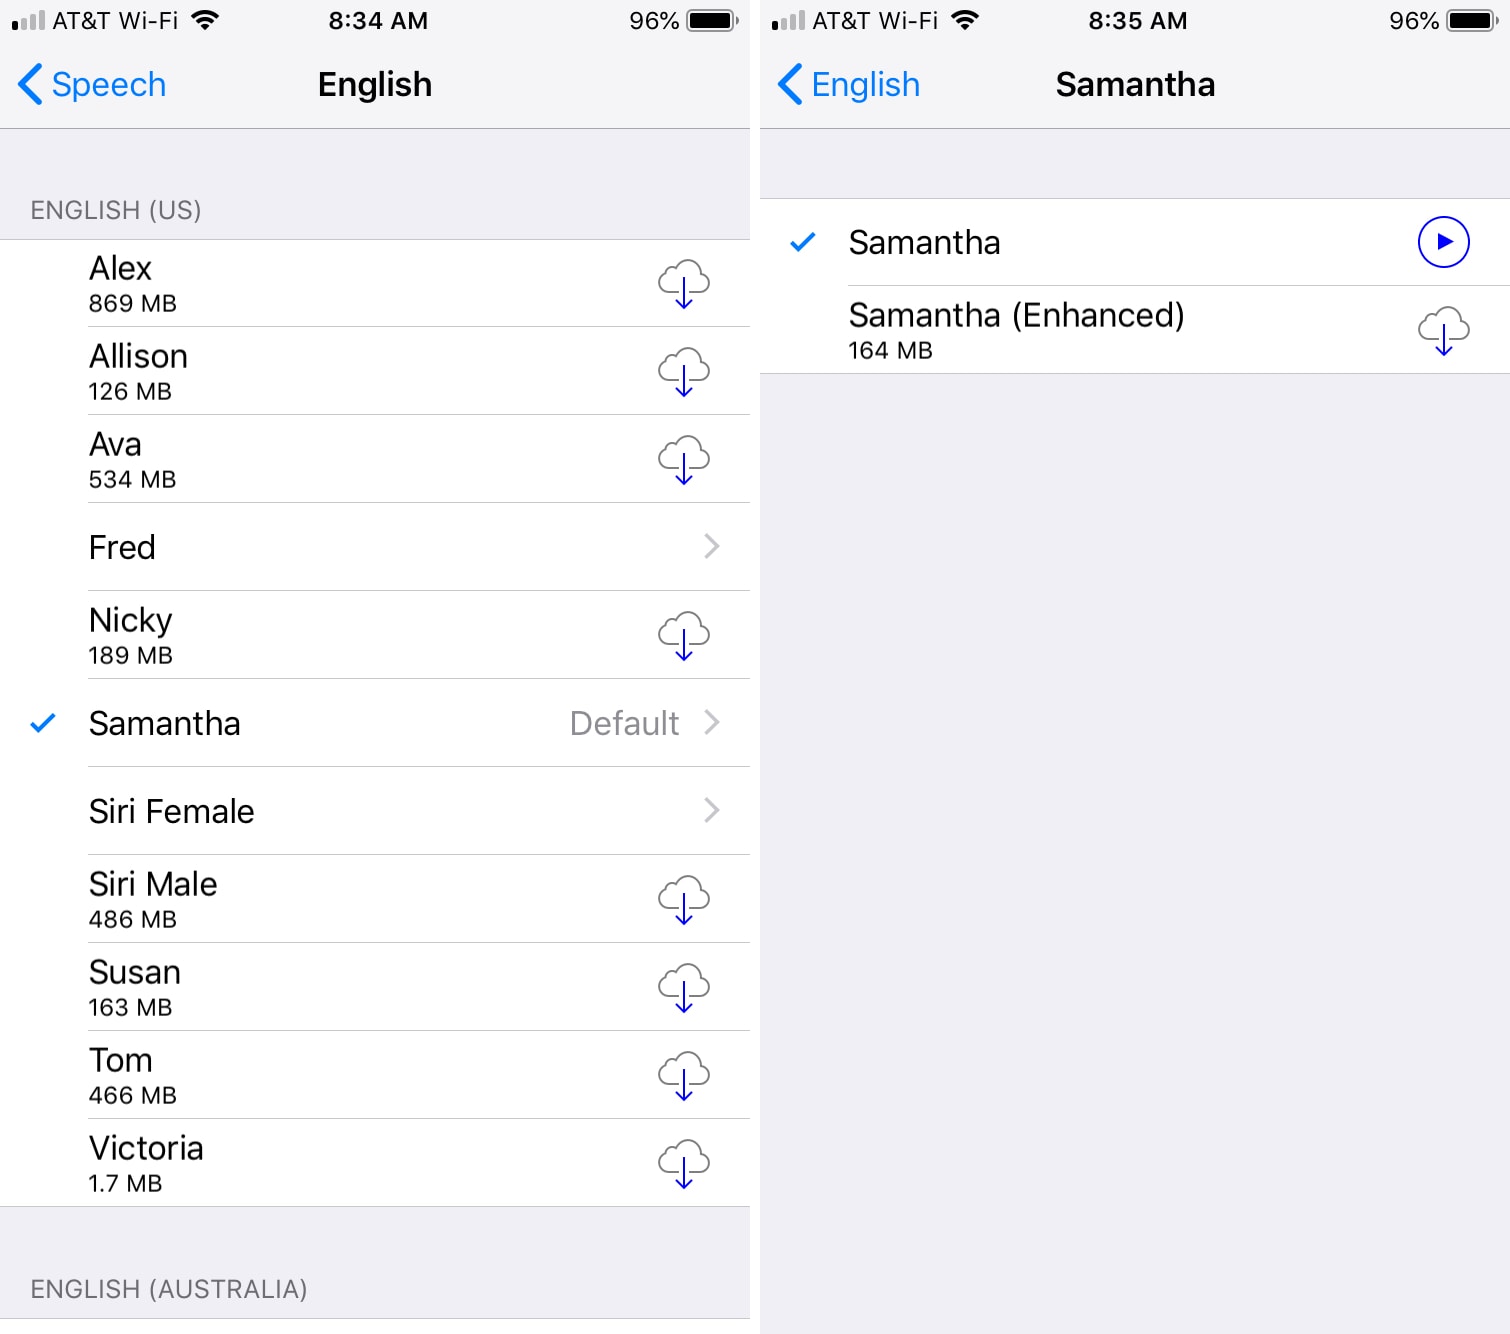
2) Depending on the language your device is set to use, you can now choose between the various dialects to use with the VoiceOver feature. The selected voice will be downloaded to your device when it’s connected to a Wi-Fi network. After the download completes, your device will automatically install the voice.
The Default option is the compact voice pack, but you can also select a higher-quality voice, labeled as Enhanced, which will give you a better sounding text-to-speech at the expense of storage space (enhanced-quality voices can cost you several hundred megabytes of storage space).
To add voices for other languages, tap Add New Language and select the language and dialect you want.
If you want to adjust the rate of speech the voice uses (uses for speed-reading long passages of text), move the Speaking Rate slider on the VoiceOver screen.
Tip: You can enable multiple voices and switch between Compact and Enhanced Quality without needing to download the voice again.
About using natural sounding Alex voice
Alex is my favorite US English voice (if you’re using English on your device, choose English (U.S.) → Alex).
Note to international users whose device is using another language by default: before using Alex, you must add English as a Rotor Language by going to Settings → Accessibility → VoiceOver → Speech → Add New Language.
Next, select English (U.S) from the Rotor Languages list, and now tap Alex.
Alex does sound great, but also weighs in at 869MB, so think twice before enabling Alex if you’re concerned about space.
RELATED: How to get your iPhone or iPad to read books to you
How to choose a voice for Speak Screen and Speak Selection
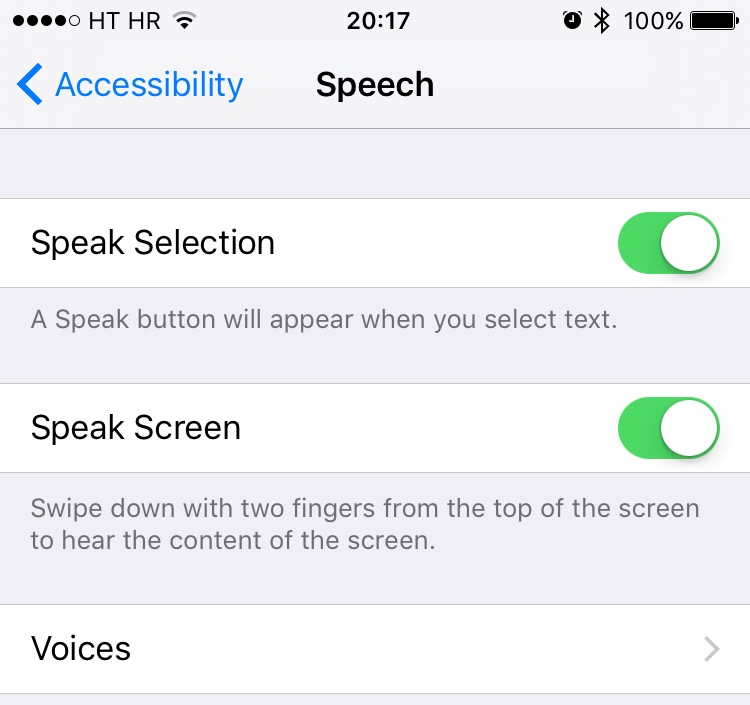
1) Go to Settings → Accessibility → Spoken Content.
2) Enable Speak Selection and Speak Screen.
3) Now tap Voices on the Speech screen and choose the default voice and dialect you would like both Speak Screen and Speak Selection to use. If you are using the Alex voice, make sure to enable it for VoiceOver, Speak Screen and Speak Selection.
Siri voices and storage space
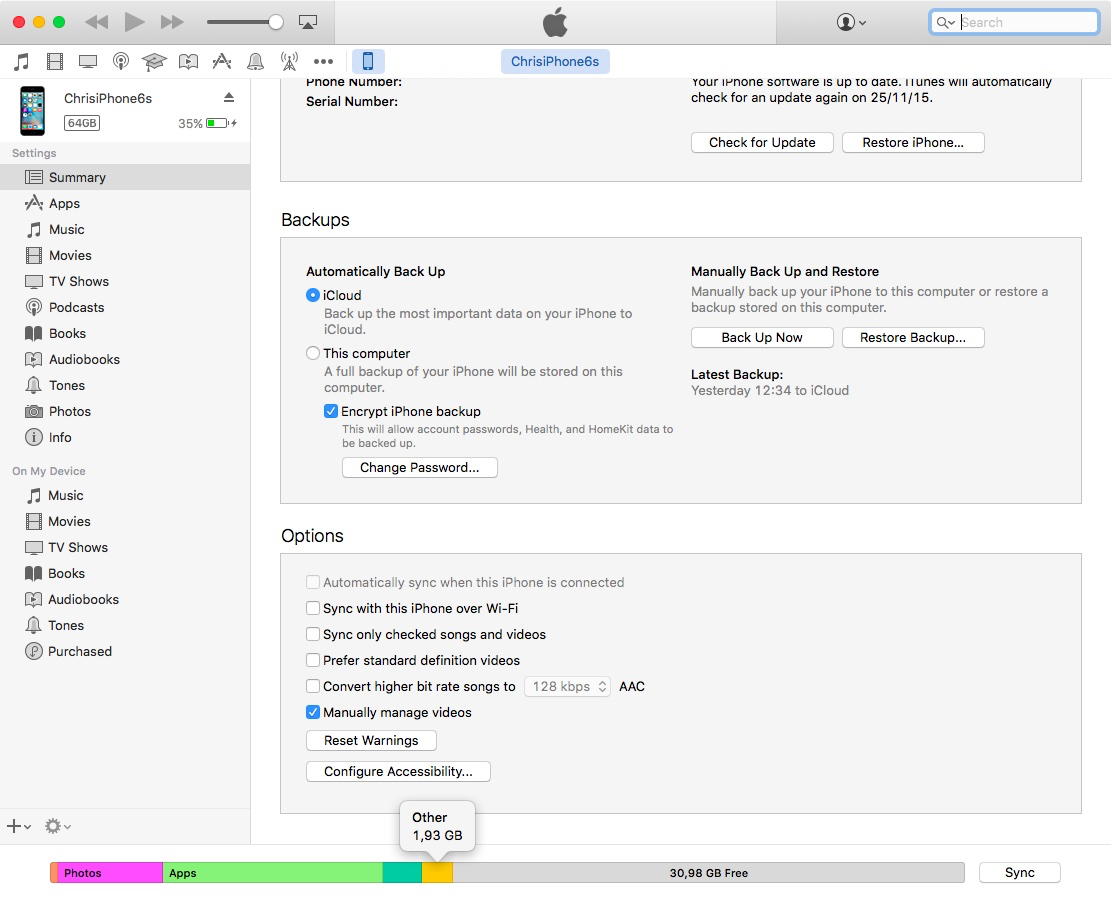
The space for Siri voices you download is within the ‘Other’ iOS category. In addition to Siri voices, your ‘Other’ iOS storage also includes device settings, system data and cached files that iOS creates when streaming or viewing content like music, videos and photos.
RELATED: How to decrease ‘Other’ storage on iOS
If your device is running low on storage, you should remove high-quality Siri voices and make sure that you’re not using multiple voices, or enhanced-quality ones, for VoiceOver, Speak Selection and Speak Screen features.
Have you tried using Alex and if so, what did you think of it?
Your how-to submissions are accepted at tips@iDownloadBlog.com or visit us on Twitter.