


How to Make Your Mac Talk Using the Say Command in Terminal

Ever since the introduction of the first Macintosh computer in 1984, text-to-speech has been a major feature of the platform. While the Mac’s speech quality and capabilities have increased greatly since then, there’s still an old school way to make your Mac talk: the Terminal.
To use speech in Terminal, open a new Terminal window and type say followed by a space and your desired word or phrase, and then press the Return key. In our example, we’ll have Terminal say “Hello Jim:”
say Hello Jim
If your Mac’s speakers are turned up, you’ll hear a familiar computerized voice speak the designated phrase. The default voice in OS X is the male voice “Alex,” but you can also use one of a number of different voices by entering a modifier to your say command. There are dozens of male and female voices from which to choose; you can find a complete list in System Preferences > Dictation & Speech > Text to Speech > System Voice.
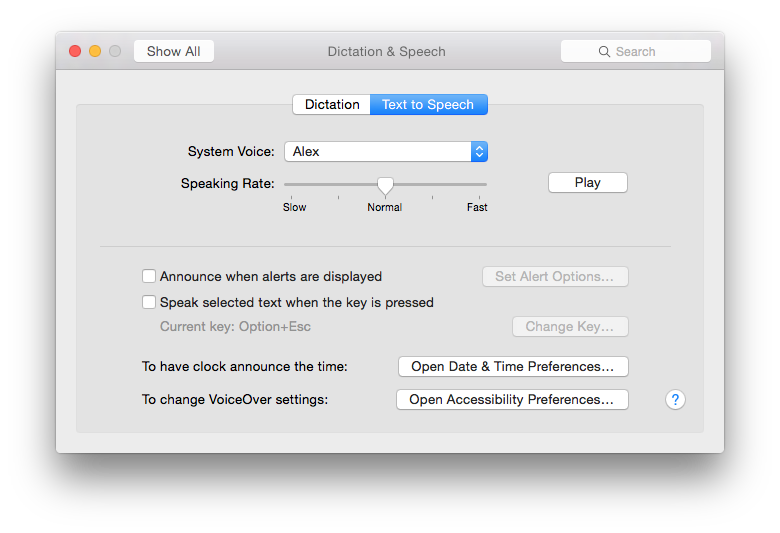
The default installed voices are available in the drop-down menu, but you can download and install others via the Customize option. To sample voices before installing them, highlight one and press the Play button at the bottom of the Customize window.
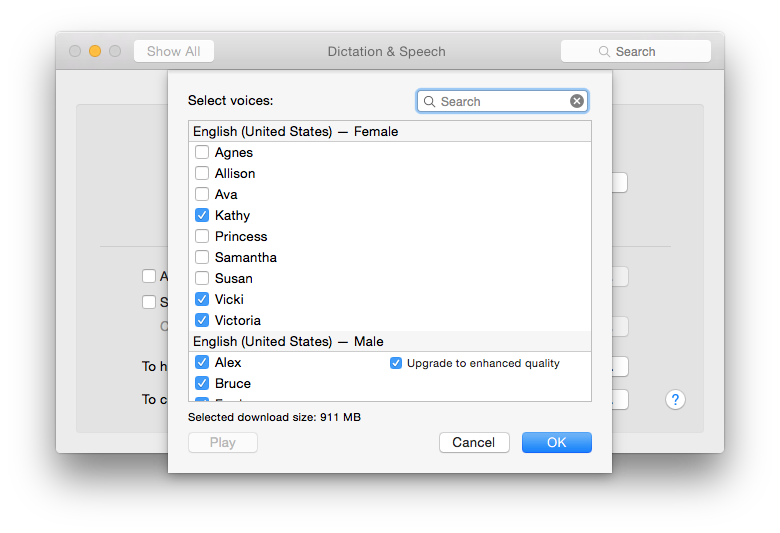
Some voices are very good and surprisingly natural sounding, some are odd and funny, and still others are just plain bad. But with a wide selection from which to choose, everyone should be able to find a voice or two they like. When you do, install it and note its name. In our example, we’ll use the Australian female voice “Karen.”
Head back to Terminal and once again type say, but this time follow it with the modifier -v, the name of your selected voice, and then the desired text. Note that if you’re using the say command with any modifiers, you should put your text in parentheses. It should look something like this:
say -v Karen "Hello Jim"
The steps above work if you have just a few words you’d like spoken, but what if you’re dealing with an entire document? In this case, the say command can read from an input text file using the -f option. Just add -f to your say command followed by the location of a file. In our example, we’ll have Karen read from a text file called “text.txt” located on our desktop:
say -v Karen -f /Users/Tanous/Desktop/text.txt
By default, OS X will speak your text at its normal rate. But you can use the -r option to make this faster or slower. Just add -r followed by a number representing the desired reading speed in words per minute. While it varies by voice, 175 words per minute is roughly a “normal” rate of speech. Raise that number to make your Mac talk faster, lower it to bring things to a crawl. Expanding on our example from above, we’ll have Karen read that text document at a brisk 250 words per minute:
say -v Karen -r 250 -f /Users/Tanous/Desktop/test.txt
If you make your Mac say something particularly valuable, you can output the speech to an audio file for later playback or sharing. To do this, add the -o option to your command, followed by a path and filename. The default output format is AIFF. To conclude our series of examples, we’ll have Karen read that text file at 250 words per minute and output the speech to an AIFF file in our user’s Music folder.
say -v Karen -r 250 -o /Users/Tanous/Music/test_output.aiff -f /Users/Tanous/Desktop/test.txt
When you use the output option, your Mac won’t actually speak the text live; it just synthesizes the audio and dumps it into your output audio file. This makes creating audio files from long documents much quicker.
These are the most common options for the say command in OS X. As with all Terminal commands, if you’d like to dig into some of the more esoteric stuff, just use the man command to pull up the manual for say:
man say
With a number of other ways to use text-to-speech in OS X, many of you are probably now asking: Why bother using Terminal when I could just as easily use OS X services via the GUI? The answer is twofold. First, it’s often just plain cooler to use and master Terminal commands, as they are frequently more flexible and offer the complete range of functionality that may be hidden from OS X’s more basic GUI.
Second, the ability to use say via Terminal allows for some epic pranking, in which you can remote into the Mac of a friend or family member via a secure shell (ssh) and initiate text-to-speech commands that will confuse the heck out of them. We may write a future tip that deals with this exact scenario. That said, please use the say command responsibly.


One thought on “How to Make Your Mac Talk Using the Say Command in Terminal”