
With the very recent release of OS X 10.8.2, Apple launched Facebook integration in Mountain Lion to coincide with the release of iOS 6. This will make sharing things to Facebook directly from your Mac just as easy as it has been with Twitter for the last few months. This Quick Tip will walk you through setting your Mac up with your Facebook account and sharing content to your Facebook page.
Screencast
Watch the video for a quick overview of the methods in the article.
Step 1: Add Your Facebook Account
Given the current name of the preference pane we'll be using, locating the Facebook activation can be a bit misleading. Launch the System Preferences app, and click on Mail, Contacts, and Calendars under the Internet & Wireless heading (perhaps it is time to rename this pane to reflect all of the other functionality it offers!).


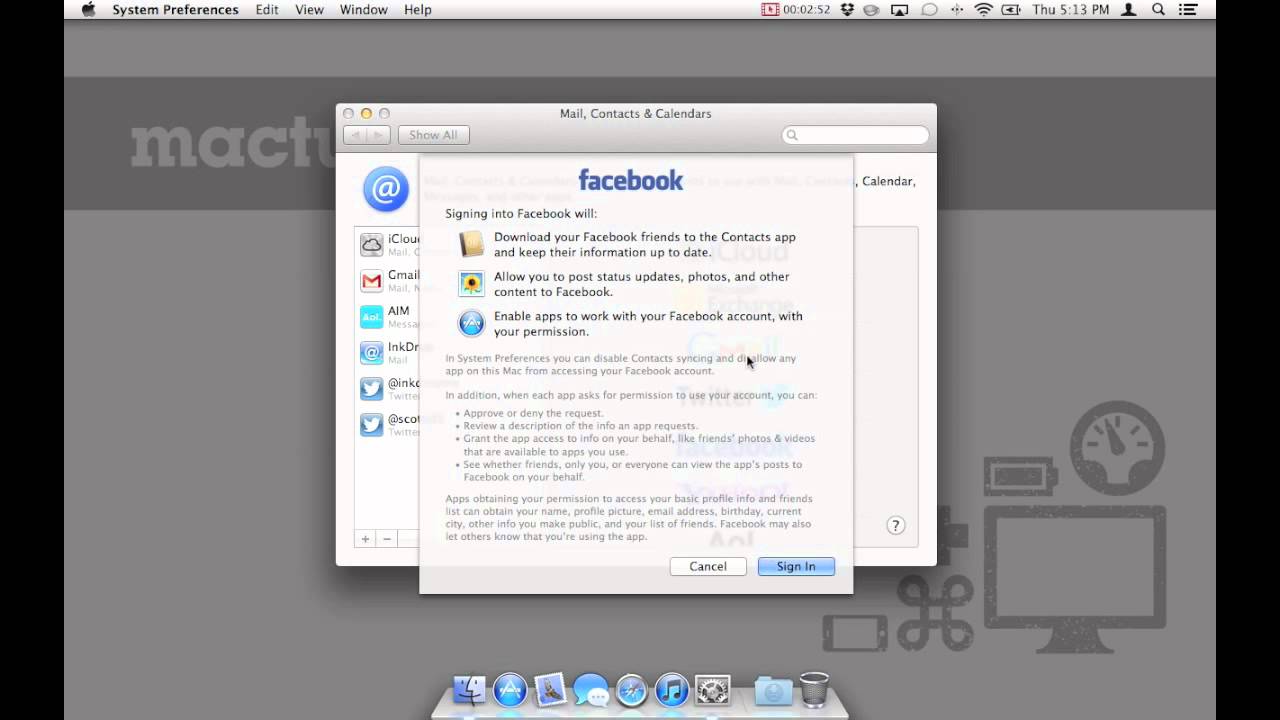
Facebook now appears as an account option in the list where it didn't before. Click it and enter your login credential to activate Facebook in OS X.


Before signing in, you will be shown a brief information pane that will explain what OS X will do with your Facebook credentials. The only default action that this will cause (which I chose to cancel immediately) is to import your Facebook friends list to Contacts.app.


Step 2: Configure Facebook Integration
There are few options available to you once you have your Facebook account set up. Immediately after clicking "Sign In" on the informational pane, you'll see your account details. The applications listed in the window are the ones that you've given Facebook permission to access (for now, it will only be Contacts, but more will almost assuredly be added as developers add integration to their software.


The other place where a few customization options can be found for Facebook is in the Notifications preference pane under the Personal heading. While the options for tailoring your Notifications' behaviors are fairly limited (banner vs. alert, number of notifications shown), it is possible that we may see more granular control over what we get notified about implemented in the future, so knowing the location of these settings can be handy.


Step 3: Share!
You'll notice, now, that Facebook appears as an option in the Share Sheet drop down that appears in countless different places around OS X. This is certainly helpful for sharing pictures, documents, and whatever else you want to share directly from whichever app you're using.
In addition to Share Sheets, however, a "Click to Post" button has been added to Notification Center, placed conveniently right next to the "Click to Tweet" button that we've all likely become familiar with.

Simply click the button and a visually appealing share card will show up directly in Notification Center, allowing you to send simple text posts or your location right to your Facebook page.

And, of course, Facebook has full Notification Center integration, so any Facebook interaction that you receive will appear in the sidebar, just as Twitter @replies.
Closing Thoughts
In this digital age, everything we do on and off of our computers is becoming more social, and the robust integration that is being added to your Mac is making it easier than ever to seamlessly and effortlessly share content with others. Getting Facebook set up on your Mac running OS X 10.8.2 is easy, and you should be sharing in no time at all.


