Happy Mountain Lion Day! Now that you have downloaded the 4.34GB installer, you may want to install Mountain Lion on more than one of your personal machines. Do you really need to wait 45 minutes or more for each one? Absolutely not! Just make your own bootable install disk using our handy tutorial.
We have instructions for those of us who just want to get it done—using the donation-ware Lion Diskmaker app—as well as those that don't mind a little extra clicking to do it yourself.
Important warning: the OS X installer will delete the necessary file needed to make your own install disk once it runs. Therefore, you need to either make a copy of the installer outside of the Applications folder or make your install disk before upgrading.
Got it? Good—let's get started.
Here's what you need:
- An 8GB or larger USB flash drive, other external disk, or 4.7GB DVD-R
- Mountain Lion installer app downloaded from the Mac App Store
- Optional: Lion Diskmaker app
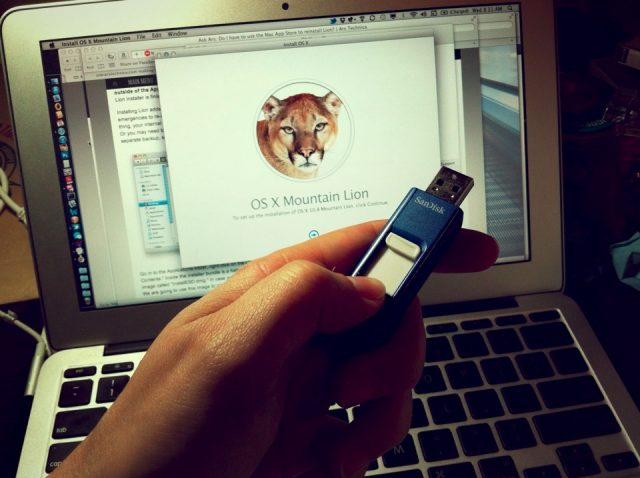
We recommend a USB flash drive for your backup installer; they're cheap and easy to store and transport. Other external drives will also work, but make sure the type works with all your Macs—USB is the most universal. You can also burn the installer to a DVD-R, but booting and running the installer from an optical disc is s-l-o-w.
There's an app for that
If you find digging in to bundles and using Disk Utility to be tedious or bothersome, you can thank developer Guillaume Gète for making Lion Diskmaker. His app automates the process of making a bootable install disk for both Lion and Mountain Lion—just run the app and let it do its thing.
(Why not rename the app to something more generic like "OS X Diskmaker"? Gète says he just likes the existing name better, and besides, it's less likely to catch the ire of Apple's lawyers.)
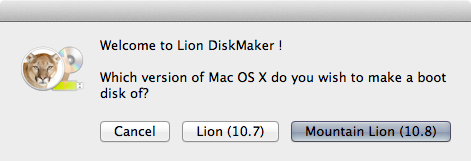
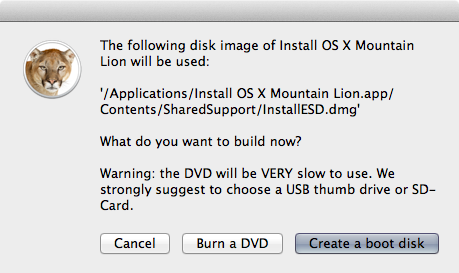
Just download the Lion Diskmaker app, unzip it, and run it. You'll basically need to click four buttons: "10.8 Mountain Lion," "Use this copy," "Create a boot disk," and, if you're using a USB flash drive as recommended, "An 8 GB USB thumb drive." It's really that simple; Lion Diskmaker takes care of the rest. The process will take about 30 minutes or so using USB 2.0 (it should be faster if you have a USB 3.0-compatible flash drive and newer Mac).
Still easy enough for the DIY-er
If you like doing things yourself, however, the process is still pretty straightforward for any user comfortable with right-clicking and drag-and-drop.
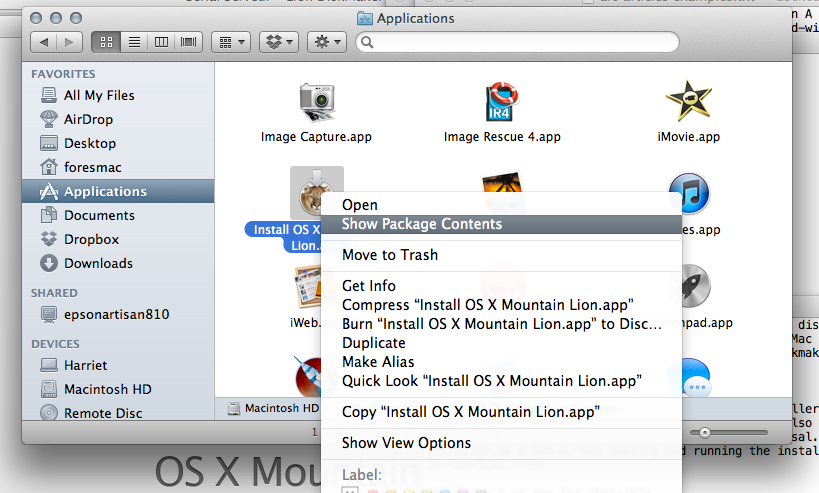
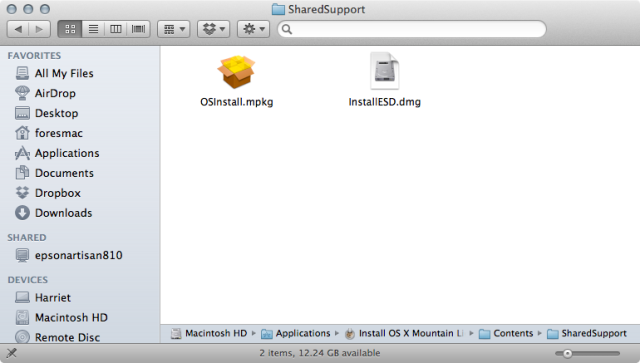
Start by right-clicking (or control-clicking) on the "Install OS X Mountain Lion" app, which should be in your main "Applications" folder after downloading. Navigate to Contents > Shared Support, and you should see a disk image called "InstallESD.dmg." We will restore this disk image to our flash drive (or other disk) using Disk Utlity.
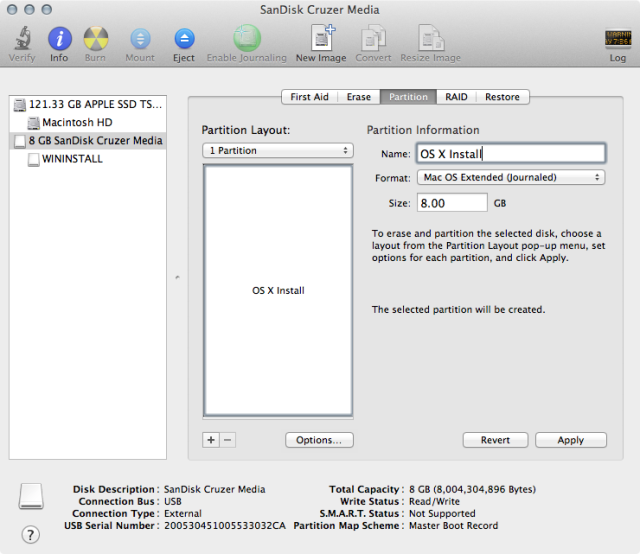
Then launch Disk Utility. If you're using a USB flash drive or other external disk, you'll need to make sure it's formatted as "Mac OS Extended (Journaled)." Under the partition options, also make sure the partition type is set to "GUID Partition Table," otherwise it won't be able to boot an Intel-based Mac.
Drag and drop the "InstallESD.dmg" into the "Source" box in Disk Utility. Then click the "Restore" button on the toolbar. Drag your newly formatted drive into the "Destination" box, and click the "Restore" button. The process should take about 30 minutes or so, less if your drive is particularly speedy.
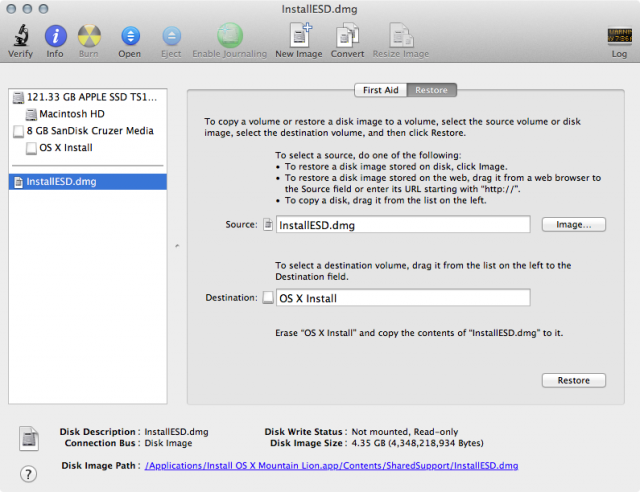
UPDATE: Some users have reported getting a "Could not restore – Invalid argument" error at the end of the restore process. Our testing shows the error message can be safely be ignored; the drive can be mounted and will boot your system to install Mountain Lion. As noted in the comments, however, mounting the InstallESD.dmg file before performing the restore process avoids triggering the error message.
If you are making a DVD, click "Burn" and select the image as a source. Once Disk Utility is done, you will have a bootable install disk.
As with Lion, the install disk includes the same options as the emergency recovery partition created when you install Lion or Mountain Lion. With it, you'll be able to use Safari to find troubleshooting information, run Disk Utility to fix filesystem errors, restore from a Time Machine backup, or install Mountain Lion from scratch on any compatible Mac.
reader comments
69