So Santa stuffed an Apple TV in your stocking? That’s pretty freaking awesome. We’re jealous. Well actually, we already had one so I guess we’re not that jealous, but congratulations on joining the club of Apple TV owners. We’re stoked to have you with us, and we want you to get the most from your new gagdget so we’re going to help you get it setup the right way so you can skip through all the menus and side features and dive straight into the good stuff.
In this handy guide, we’ll take you through initial setup; show you the best features of Apple TV and teach you some awesome tweaks that will take your television experience to the next level so you can cuddle up in next to your flatscreen wearing those new pajamas your kids bought you and go into a week-long tv-coma.
Here’s our guide to setting up your new Apple TV the right way.
Initial Setup
Setting up your Apple TV is incredibly easy. Get started by plugging in the HDMI cable from your Apple TV to your television set, then plug in the power for the Apple TV and hold down the middle circle button on the Apple TV remote to turn on your device. Once the Apple TV is powered up, simply select your language, connect to your local Wi-Fi network and you are ready to start watching videos. Now before you run off and waste the next three hours of your life watching YouTube cat videos on your 60″ TV let’s get all the other neat stuff setup first.
Video
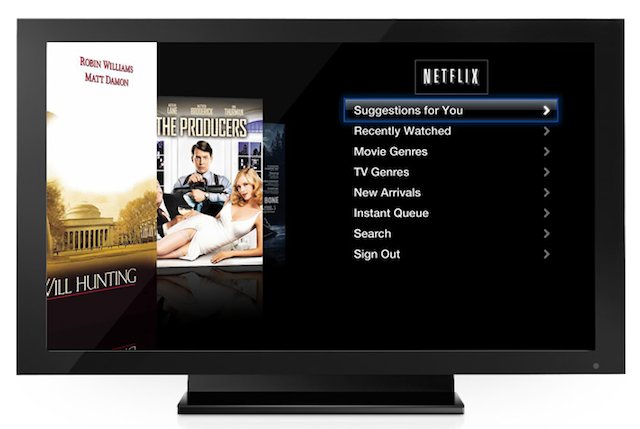
Netflix – Navigate to the “Internet” section and you will find Netflix listed at the top of the menu. Select Netflix with the middle button and you will be prompted to enter your Netflix username and password. After you’ve been authenticated you’ll be ready to explore all of Netflix’s streaming films. Press “Menu” on your remote to take you back to the Apple TV homescreen.
YouTube – Under the “Internet” menu you can find the “YouTube” app. Search for new videos or scan the Most View, Most Recent, and Top Rated channels to filter your content selections. You can also add your account under “Log In.”
Vimeo – While Vimeo isn’t able to match YouTube in terms of sheer amount of quantity of videos, Vimeo is a great site because its videos tend to have a higher artistic quality than the rubbish found on YouTube. Located under the “Internet” menu, the Vimeo app allows users to browse for video content much in the same way as the YouTube app.
iTunes – You can also stream movies straight from the iTunes Store. Rent new movies directly from iTunes by navigating to “Movies,” then search the available options on iTunes. Once you find a movie you’re interested in you can either watch a Preview, Rent it, or add it to your Wish List. You can also watch trailers for upcoming movies by navigating to “In Theaters” option under the Movies menu.
Photos
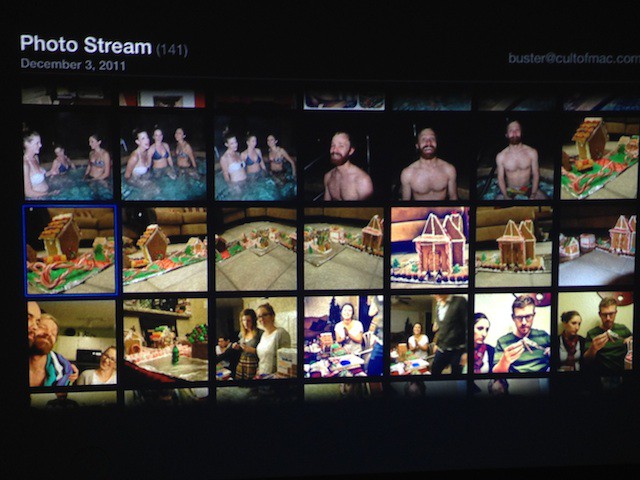
Photo Stream – Under the “Internet” menu is the option to set up Photo Stream. To set up Photo Stream you’ll need to input your iTunes ID and password. This will then give you the option to use Photo Stream as your screen saver and view newly captured photos taken on your iOS devices. It’ll take a few minutes for Apple TV to import all of your photos depending on how many you currently have in your stream. Once everything is set press “Menu” on your remote to take you back to the Apple TV homescreen.
Flickr – You can also add your Flickr account to Apple TV so you can browse your best photos and see them in full glory on your Apple TV. Navigate to “Internet” and then scroll down to “Flickr.” Simply input your Flickr username under the “Add Flickr Contact” field and your photos will be viewable. You can also add friends usernames for quicker access to their photos, or search Flickr to find new pictures.
Music –
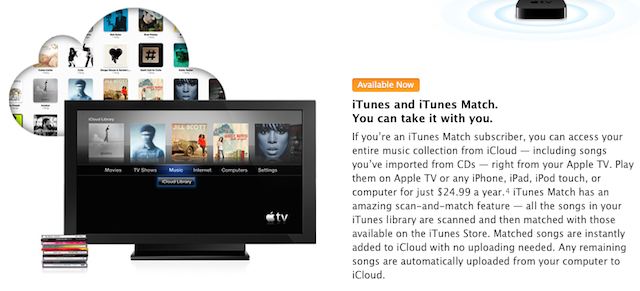
iTunes Match – If you have an iTunes Match account you can stream your entire iTunes Library straight to your Apple TV. Just enter your iTunes ID and password to configure this option.
Home Sharing – Another option for playing music on your Apple TV is to turn on Home Sharing by navigating to “Computers” and then selecting Home Sharing. Setup Home Sharing by inputting your iTunes ID and password. Then login to your iMac or MacBook that holds the iTunes Library you would like to stream. In iTunes navigate to Advanced>>Turn On Home Sharing. You will be prompted for your iTunes ID and password. Once your iTunes library is set up for Home Sharing you will be able to view it under the “Computers” Menu of your Apple TV.
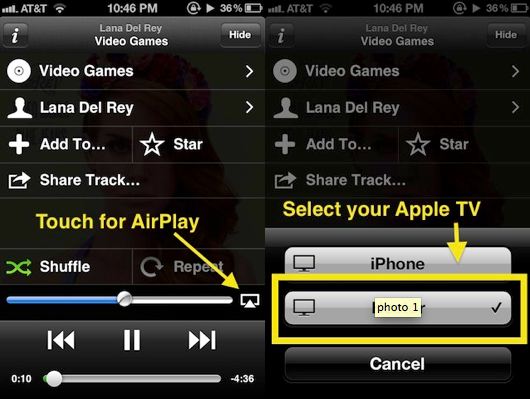
AirPlay – You can also stream music and video from an iOS device or iTunes via AirPlay. To turn on AirPlay navigate to the Settings menu and then down to “AirPlay.” Select AirPlay and then change the setting to “on.” You can also set a password to limit access to your Apple TV’s AirPlay abilities. To play a song from your iPhone on your Apple TV pull up the song and in the bottom right corner you will see the AirPlay icon. Tap the icon and then select your Apple TV and the song will start playing on the Apple TV instead. Video works the same way.
Remote
The metal remote that came with your Apple TV is great, but it’s very easy to lose track of, so save yourself the headache and download Apple’s Remote App for iOS. Click this link to download the app. We’ve already gone over how to setup Home Sharing on your Mac so all you have to do once the app is installed is login with your iTunes ID. After you’re logged in you can can navigate your Apple TV menus directly from your iPhone.
Jailbreaking
iPhones and iPads aren’t the only Apple devices that get to have all the jailbreaking fun. Jailbreaking the Apple TV is actually very easy and provides access to a bevy of third-party apps.
What You’ll Need:
- Latest version of iTunes.
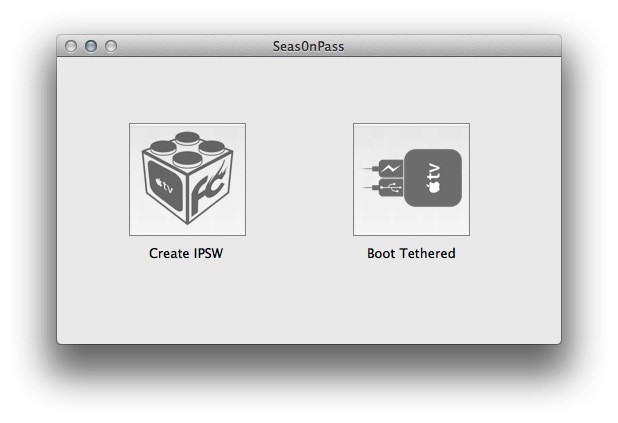
- Latest version of Seas0nPass (download OS X version here, Windows version here).
- A micro USB cable.
- Disconnect any iPods, iPhones, and iPads from your computer.
Step 1. Unzip the ‘Seas0nPass.zip’ file and launch Seas0nPass.
Step 2. Select the ‘Create IPSW’ button to start the jailbreak process.
Step 3: The latest AppleTV software will be downloaded and used to create a custom ‘jailbroken’ software file.
Step 4: When prompted, connect your AppleTV to your Mac/PC using a micro-USB cable (leave power cable disconnected).
Once the light on the front of the AppleTV begins to flash rapidly, point the remote at the AppleTV and hold both the MENU and PLAY/PAUSE buttons for 7 seven seconds.
Note: This step will require the silver (aluminum) AppleTV remote that was included with the ATV2. The older, white (plastic) remotes will not work.
Step 5: iTunes will open automatically and start the restore process.
Step 6: iTunes will confirm the restore when complete – your AppleTV is now jailbroken!
For more info on the jailbreaking process check out this site.
That’s about it for right now! Enjoy your new Apple TV, and if you think we overlooked anything, feel free to leave a comment below!
![Get Started With Your New Apple TV – The Right Way [Set-Up Guide] apple tv](https://www.cultofmac.com/wp-content/uploads/2011/12/apple-tv1.jpg)
