

The default Camera app on your iPhone can take some pretty incredible photos during the day. Newer iPhone models can even make nighttime shots look good. But you can't just point and shoot if you want to capture some pretty spectacular fireworks photos on July 4th, New Year's Eve, or another pyrotechnic celebration.
You won't be able to take the type of firework photos that DSLRs are great for, such as creating brilliant sky creatures by focusing during a long exposure shot. Still, with newer iPhones and the latest iOS version, you can at least zoom in optically, adjust exposure, and mimic long exposures. So before you head out for New Year's or Independence Day to see the fireworks extravaganza, check out the following tips to take the best firework pics that you can with your iPhone.
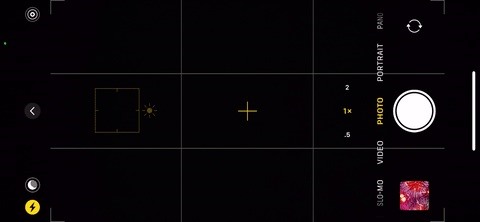
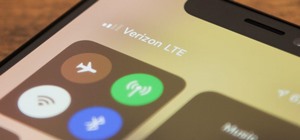
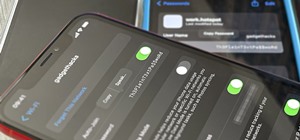
Tip 1: Disable the Flash
Your flash will do nothing to help you out when taking photos of fireworks in the night sky. The fireworks themselves are all the lights you need in your pictures. With the flash on, you're only going to annoy people nearby you, and it will add shutter speed lag since it's trying to work in sync with the quick burst of light. So tap that little flash icon and switch it to "Off," not "Auto."
Tip 2: Enable HDR
HDR, or high dynamic range, blends three different photos taken very quickly together at different exposures. There's the original photo at regular exposure, and then there's one that focuses on the darkest areas and one on the brightest. The combined image is more vivid and detailed than the normal exposure alone.
Since fireworks move so quickly in the sky, taking three different photos in rapid succession will help to capture light trails, duplication effects, and blurs you usually wouldn't be able to achieve without HDR enabled. Yes, if you want a straight-up clean and focused shot, HDR might not be for you, but you should still enable it just in case and see the next tip. However, the newer iPhones are so fast it doesn't really matter anymore, and you'll likely get a clean shot either way.
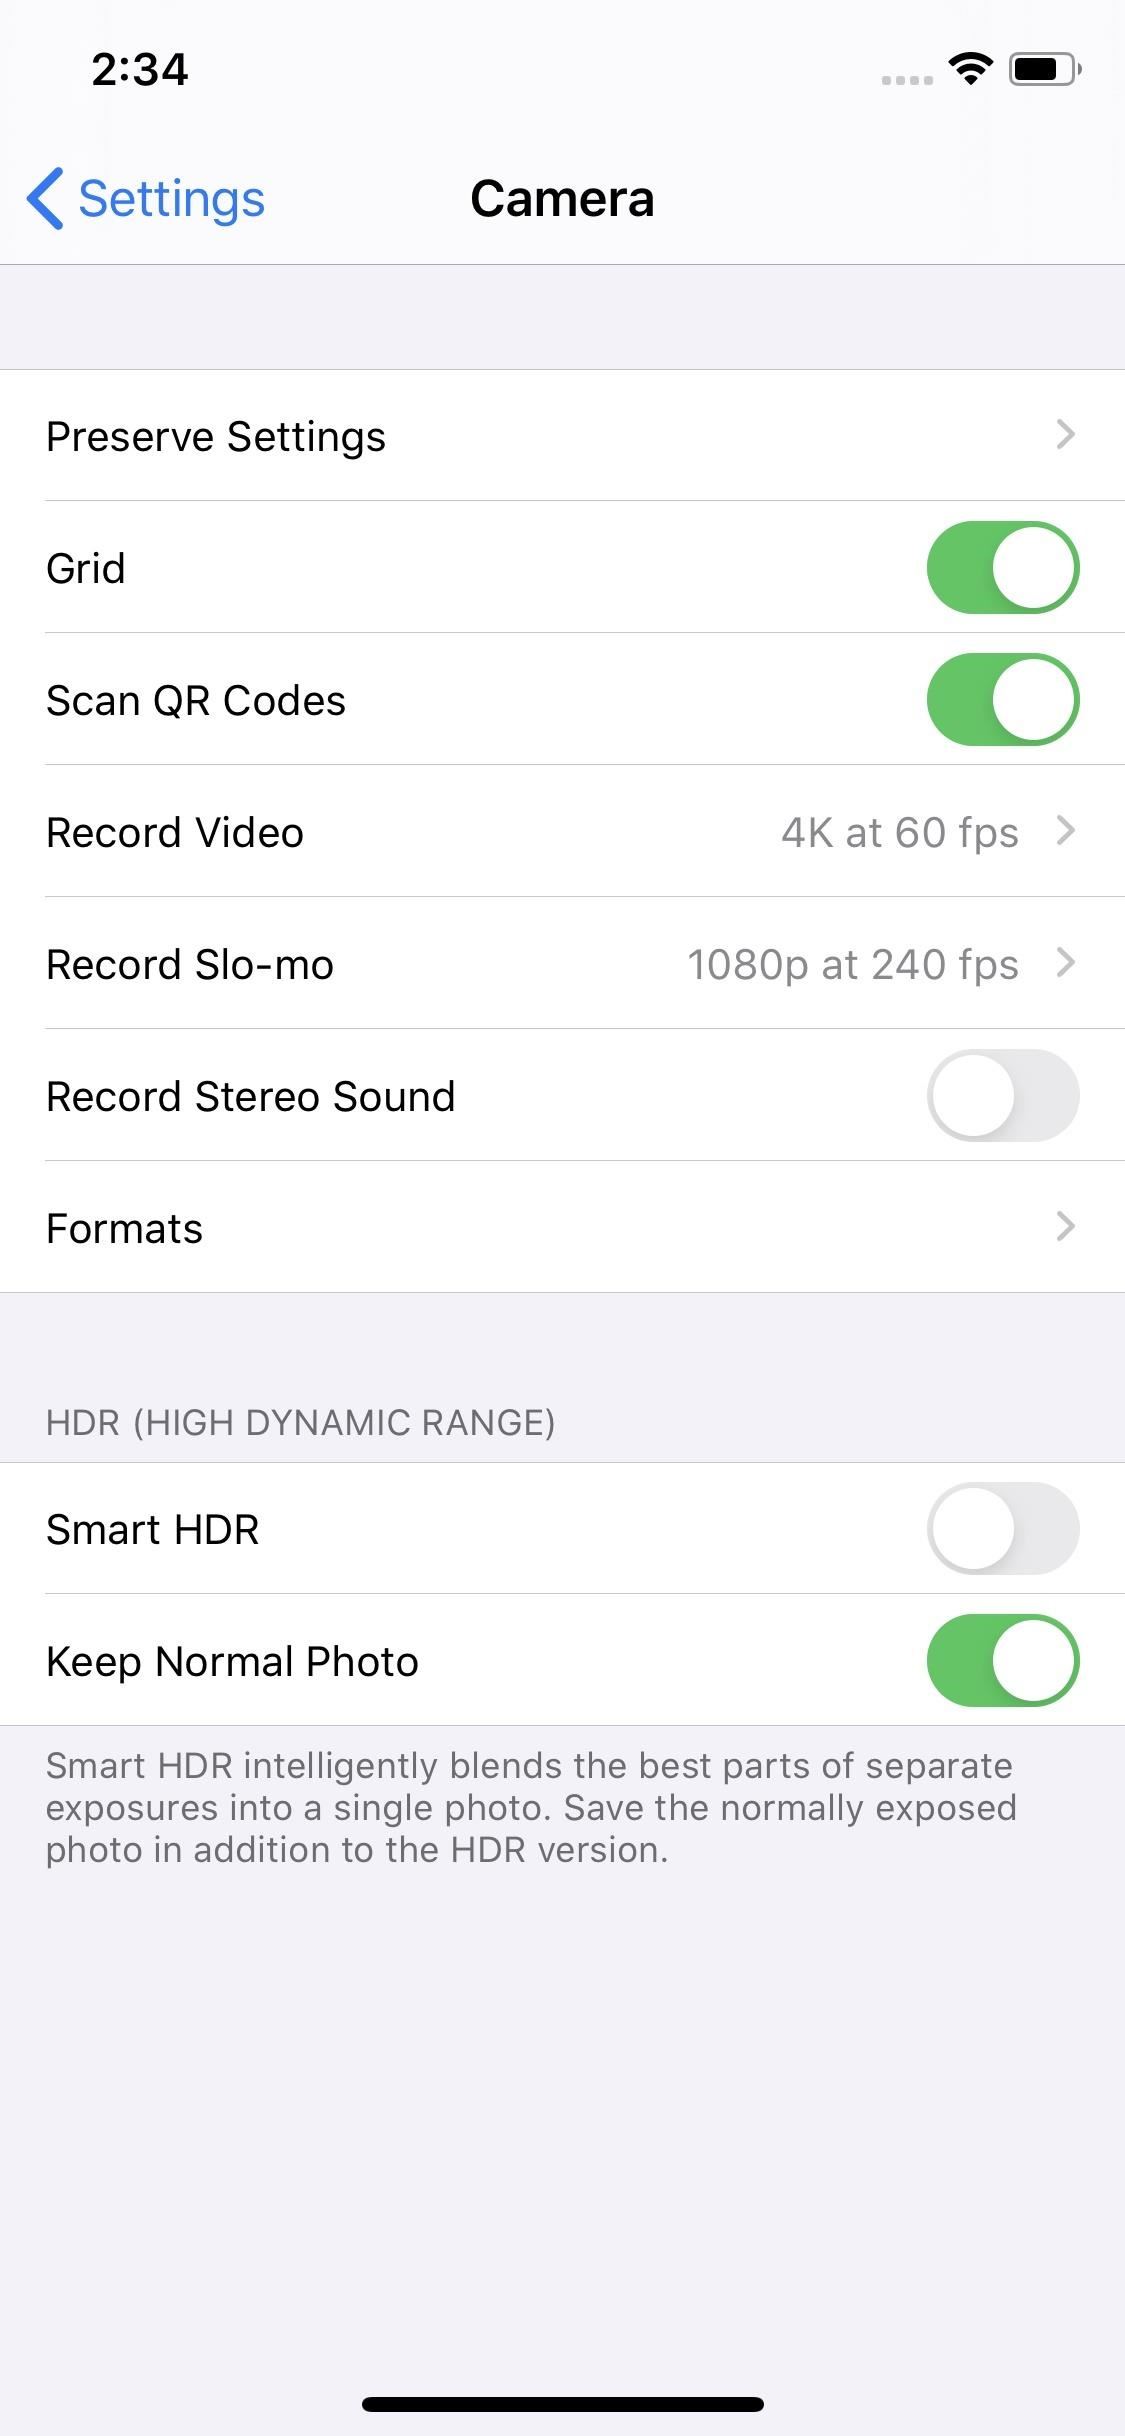
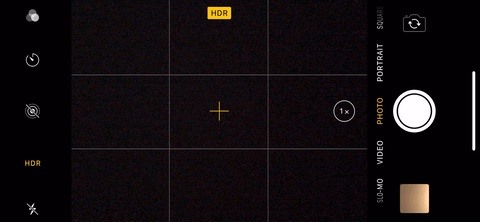
Smart HDR or Auto HDR, where the Camera app determines when and when not to use HDR, is enabled automatically on supported iPhone models. So you can just go with that, and Camera may or may not take an HDR image of the fireworks. To have more control, you can disable those features and enable HDR manually.
- iPhone 11 or newer: Go to "Camera" in Settings, and disable "Smart HDR." Then, in the Camera app, tap on the "HDR" button so that it's not crossed out. On some models, after tapping it, you'll need to select "On." You can also open the hidden toolbar, tap the HDR button, then choose "On."
- iPhone XS, XS Max, and XR: Go to "Camera" in Settings, and disable "Smart HDR." Then, in the Camera app, it depends on what iOS version you're using. In iOS 12, tap on the "HDR" button, then "On." In iOS 13 and later, tap on the "HDR" button so that it's not crossed out. In iOS 14, you can also open the hidden toolbar, tap the HDR button, then choose "On."
- iPhone 8, 8 Plus, and X: Go to "Camera" in Settings, and disable "Auto HDR." Then, in the Camera app, tap the "HDR" button, then "On."
- Older iPhone models: You don't need to open the Settings app. Just tap the "HDR" button, then "On."

Tip 3: Keep the Original Photo
If you're not entirely sold on the idea of trying out HDR for your fireworks pictures, then you should make sure that you keep the original photo as well, not just the HDR version. Even if you want to use HDR, you should still do it since the regular version might be better than the HDR one. Better safe than sorry.
You can only keep both versions if you have an iPhone XR or older, not the iPhone 11 and newer. So if you have an iPhone XR or older, in your Camera settings, toggle on "Keep Normal Photo." When you go to check out your photos later, you'll notice there will be an HDR version and regular photo side by side.
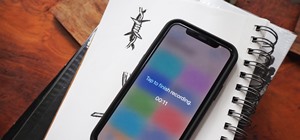
Tip 4: Try Out Live Photos
Another thing you might want to keep on is Live Photos, which records a tiny video that you can watch when you press firmly on the photos. It also lets you choose the key photo that is given, so if you don't like the key photo it shows you, you can change it to something more detailed. If you have HDR enabled, then only the original key photo will have HDR properties, which means if you change the key photo, it won't be HDR anymore.
To enable Live Photos, make sure the circular Live Photos icon in Camera is yellow or not crossed out, depending on your iPhone model. On an iPhone 11 or newer, you can also open the hidden toolbar, tap the Live Photos button, then choose "On." You can do the same on an iPhone XS, XS Max, or XR that's running iOS 14.
To see if this is something you want to continue using during the fireworks show, try it out a few times, then "Edit" the image. In iOS 12 and under, the Live Photos slider appears right away. In iOS 13 and later, tap the Live Photos button in the toolbar first. Then, tap-and-hold on the little white frame on the slider, which indicates that's your original key photo. Move that around to where you want, then tap "Make Key Photo" and hit "Done."
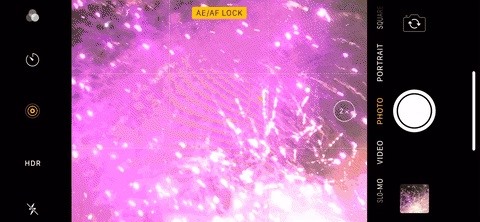
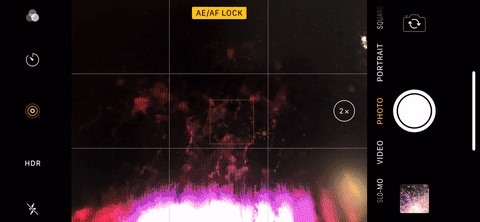
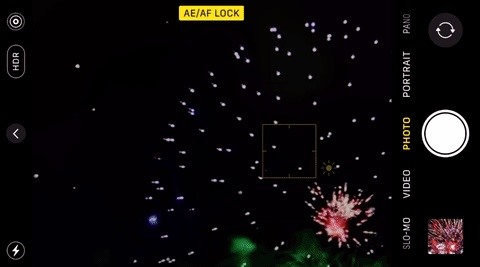
Tip 5: Use the Exposure Lock
Your first few photos of fireworks should be for training your iPhone to take the ones you actually want. During these critical moments, whenever you get a picture with decent exposure, you'll want to try to recreate what you just did — but don't take the photo yet. When the next set of fireworks explodes, tap-and-hold on them in the viewfinder until you see "AE/AF Lock." This also locks the focus, which shouldn't matter much if you move around a little since the subject is so far away.
Tip 6: Turn Down the Exposure
Once you've locked the exposure in, if you feel it needs a quick adjustment, you can do so by swiping up and down on the viewfinder. If anything, you'll likely want to turn down the exposure a little bit, rather than up. Turning the exposure down will give you better blacks in the night sky and gets rid of almost all the noise.
If you have an iPhone XS or later running iOS 14, you have another way to control exposure. Oddly, it seems to be independent of the exposure control just discussed. To access it, tap the chevron or swipe up on the screen, then tap the exposure button (+/-) and adjust it with the slider. You can use this in conjunction with the exposure controls you can adjust by swiping up or down on the viewfinder.
Tip 7: Give Night Mode a Shot
If you have an iPhone 11, 11 Pro, or 11 Pro Max, you have the Night mode feature, which activates automatically during low-light situations. It works in 1x zoom mode only. However, it sometimes pops up for 2x as well; only it'll turn your optical zoom into a digital one when it takes a picture using Night mode.
Depending on how dark it is, it'll take from one to five seconds to snap the image, combining all of the input into a single photo. You can even increase that time frame to up to 30 seconds in really dim situations.
When using Night mode, if the fireworks are more of a background aesthetic to buildings or other objects in the foreground, it can come up as a pretty clean image. If you're focusing on the fireworks alone, you might get some interesting effects. Unlike a real long exposure, Night mode doesn't just take one extended photo, it takes multiple images over the shot, then picks the best parts of each to combine them into one impressive picture. So, it may come out clear, or it may come out with tails or blur or some other effect that may be cooler than the real deal.
Tip 8: Turn Off Night Mode
If the Night mode feature on the iPhone 11, 11 Pro, and 11 Pro Max isn't giving you good results, you can disable it. However, you can't disable it for good, only whenever it tries to take a Night mode snap. When it does, you can tap the Night mode button from the persistent or hidden toolbar, then move the slider to "Off." You'll have to do this regularly, though, as the "Preserve Settings" options for Camera do not apply to Night mode.
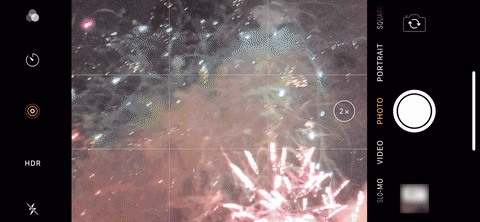
Tip 9: Avoid Using Digital Zoom
All iPhone models will let you zoom in on a subject in the Camera app, but should you? If it's digital zoom, no. You'll only get blurry, grainy photos that will haunt you until you delete them. However, if you have an iPhone 7 Plus, 8 Plus, X, XS, XS Max, 11 Pro, or 11 Pro Max, feel free to experiment with the 2x optical zoom option since you have a telephoto lens.
Tip 10: Take Lots of Photos
When it comes to fast-moving subjects, taking more photos is always better than fewer photos. If you concentrate too hard on just one shot and it turns out bad, then you wasted your opportunity to capture something amazing by shooting multiple pics. Sure, you may end up with 100 photos in a one- or two-minute time span, but you can always go back and keep only the awesome ones.
Tip 11: Use Burst Mode
To help you take more photos faster, use the Camera's built-in burst mode. To do so, hold down on the shutter button or one of the volume buttons (the volume button works on the iPhone XR or older running iOS 13 or earlier). It will automatically begin taking photo after photo in rapid succession. Let go when you want to stop.
Burst photos do not clog up your photo library since they are all combined into a folder with one image as its thumbnail, which helps keep things tidy.
If you have an iPhone 11 or newer (or an iPhone XS or newer running iOS 14), the QuickTake feature takes over the long-press gesture for bursts. To start a burst shot, swipe the shutter button to the left and hold it there until it takes all of the images you want. In iOS 14, you can also assign a volume button shortcut for bursts.
- More Info: How to Take Burst Photos on the iPhone 11 Models
- More Info: How to Take Burst Photos on the iPhone SE (2nd Gen)
Tip 12: Shoot a Few Videos
If you're not getting the results you want with photos, try changing over to video form. This way, you can steal a frame from one of them as a regular photo. Basically, just screenshot the video and crop and edit it accordingly.
Tip 13: Keep Your iPhone Steady
To get really clear fireworks photos, keep your iPhone as steady as possible, especially when using the 2x optical zoom. Find something to place your iPhone, so your shaky hands aren't the only support. You could also try propping your body up against a tree or similar object to steady yourself and your arms. There are a ton of different things you could try out, so I'll leave that up to you to play around with.
Tip 14: Use a Tripod
If you really want to keep things steady, there's no better way than with a tripod. There are tons of iPhone tripods on Amazon. If you don't want to wait for shipping, Best Buy, Walmart, and other local retailers will probably have a smartphone tripod or two.
Some tripods even come with a wireless Bluetooth shutter remote, like UBeesize's small flexible tripod and Fotopro's 40-inch tall aluminum tripod. All of these should come with a mount adapter that would also work with more professional tripods for DSLRs and the like.
Tip 15: Use Your Headphones to Take the Pics
If you're trying to keep things steady without a tripod, or even if you have a tripod but don't have a functional Bluetooth remote (they don't all work), you can use the wired headphones that came packaged with your iPhone, whether they are the EarPods with a 3.5 mm connector, EarPods with a Lightning connector, or the old-style Earphones or Earbuds. As long as they have a built-in remote, you can use the volume buttons to snap photos via headphones jack or Lightning port.
Tip 16: Use Your Apple Watch as a Remote Shutter
Even better, if you have an Apple Watch, you can use that as a remote shutter. It works much better than crappy third-party remotes that come with tripods and isn't wired into your iPhone, so there's no tripping hazard or tangled mess to deal with in the dark.
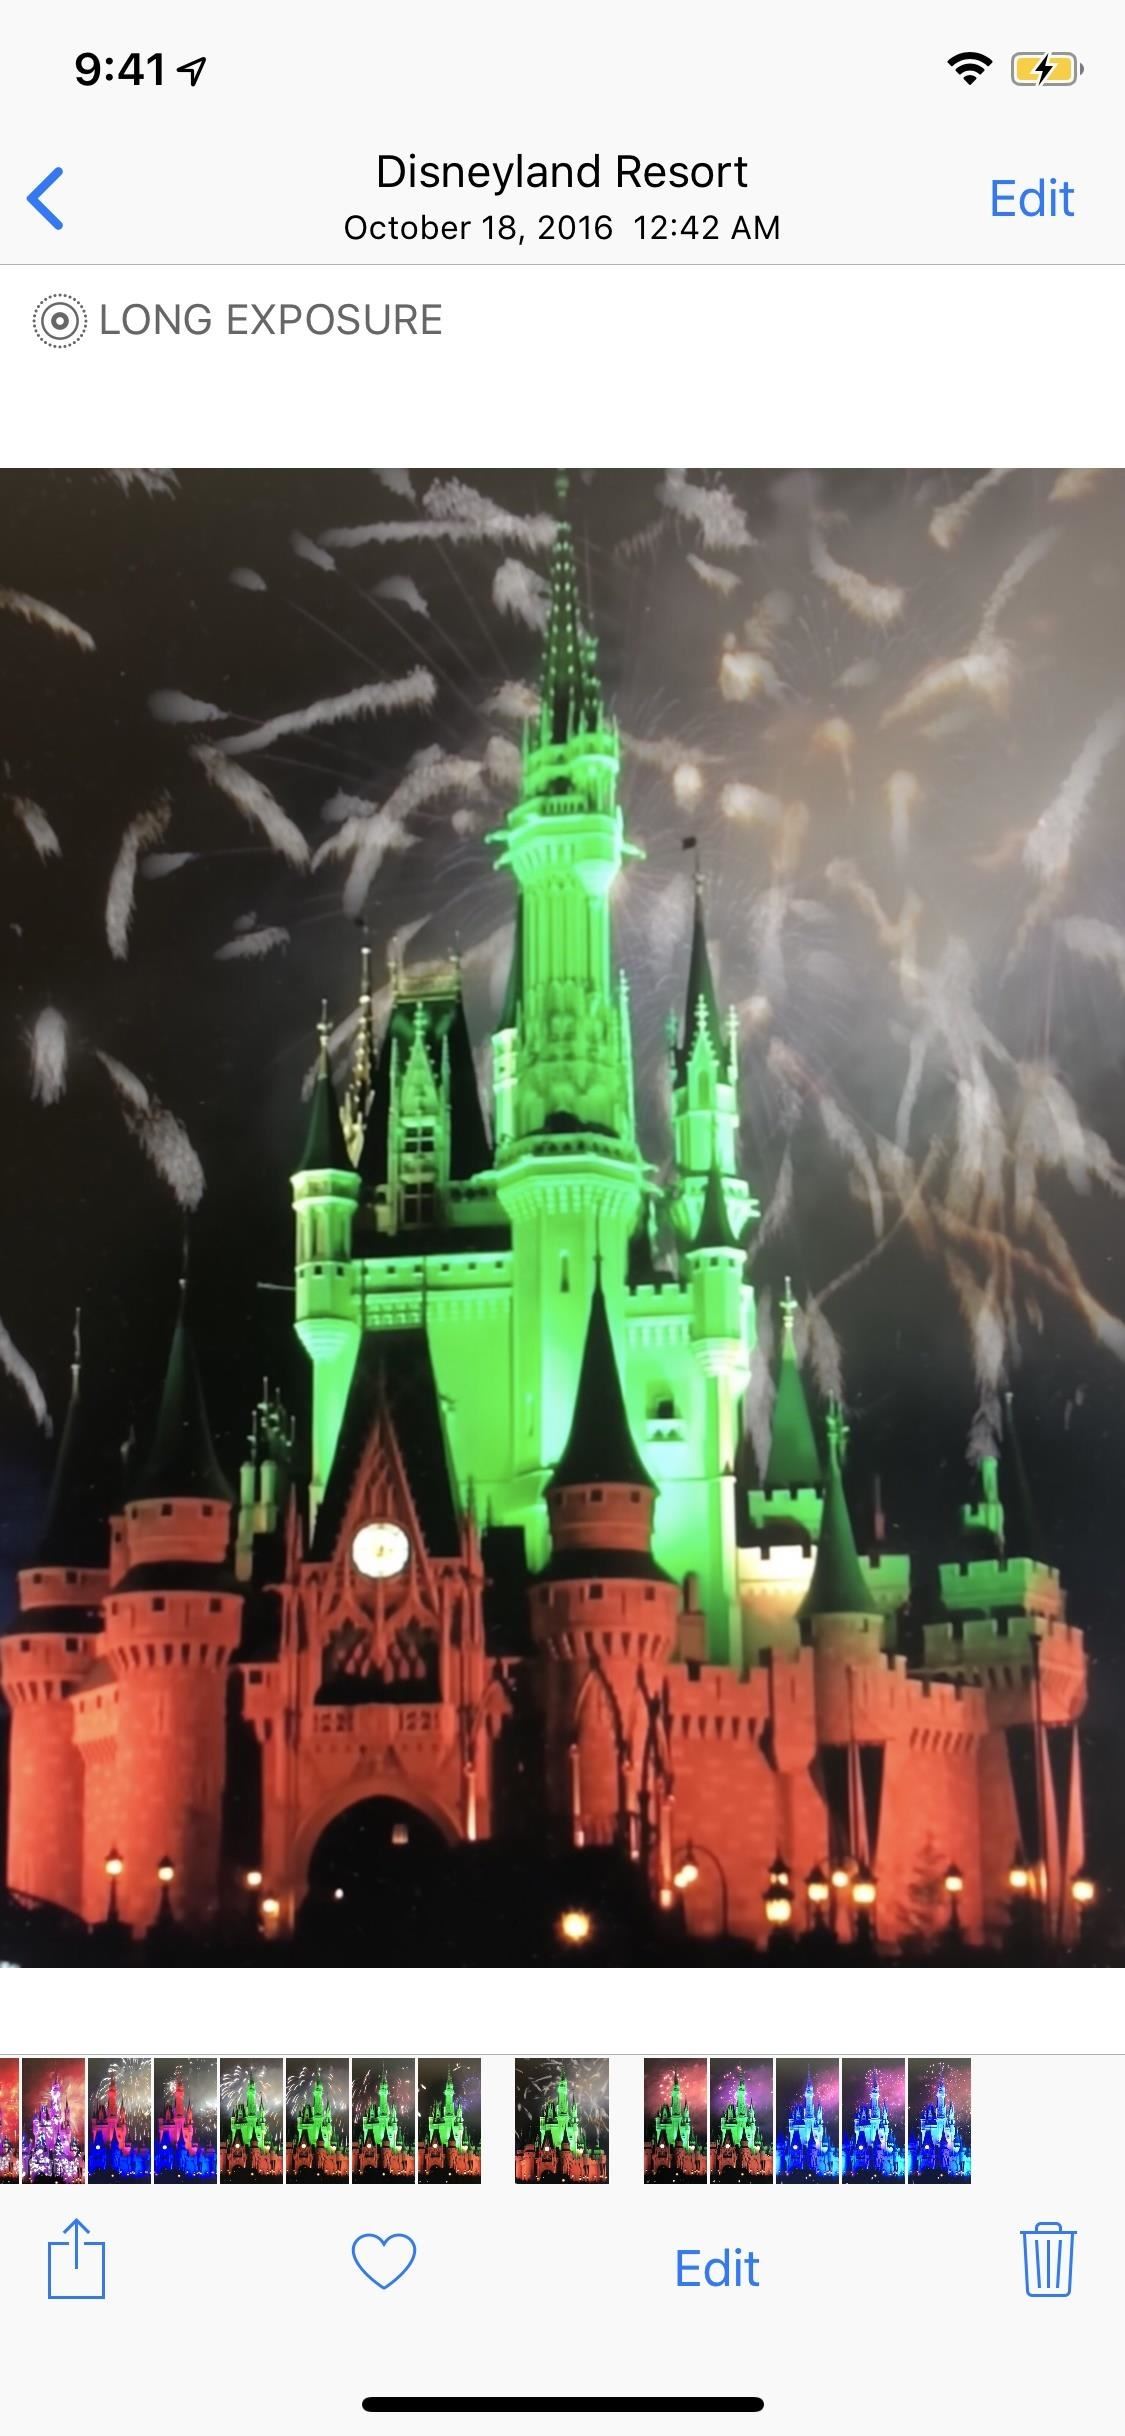
Tip 17: Turn Them into Long Exposures
For those of you experimenting with Live Photos, it has a bonus — you can turn them into long exposures as long as you're running iOS 11 and higher. After you take your photos, go check out your "Live Photos" folder in the Photos app, then choose one. After that, swipe up on the screen to access the Live Photo effects, which include Loop, Bounce, and the one we want, Long Exposure.
The "Long Exposure" effect uses software to simulate a long exposure, which will blur things out and create "bright streaks across the night sky," as Apple puts it. In my experience, this works better if there's a stationary object in the foreground and you used a tripod. Either way, you might just end up with something great you never thought possible with your iPhone.
Tip 18: Try Third-Party Apps
The default Camera app can't do everything, so you'll want to play around with a few third-party apps to see if you can create some cool fireworks effects or get more manual control over your photos.
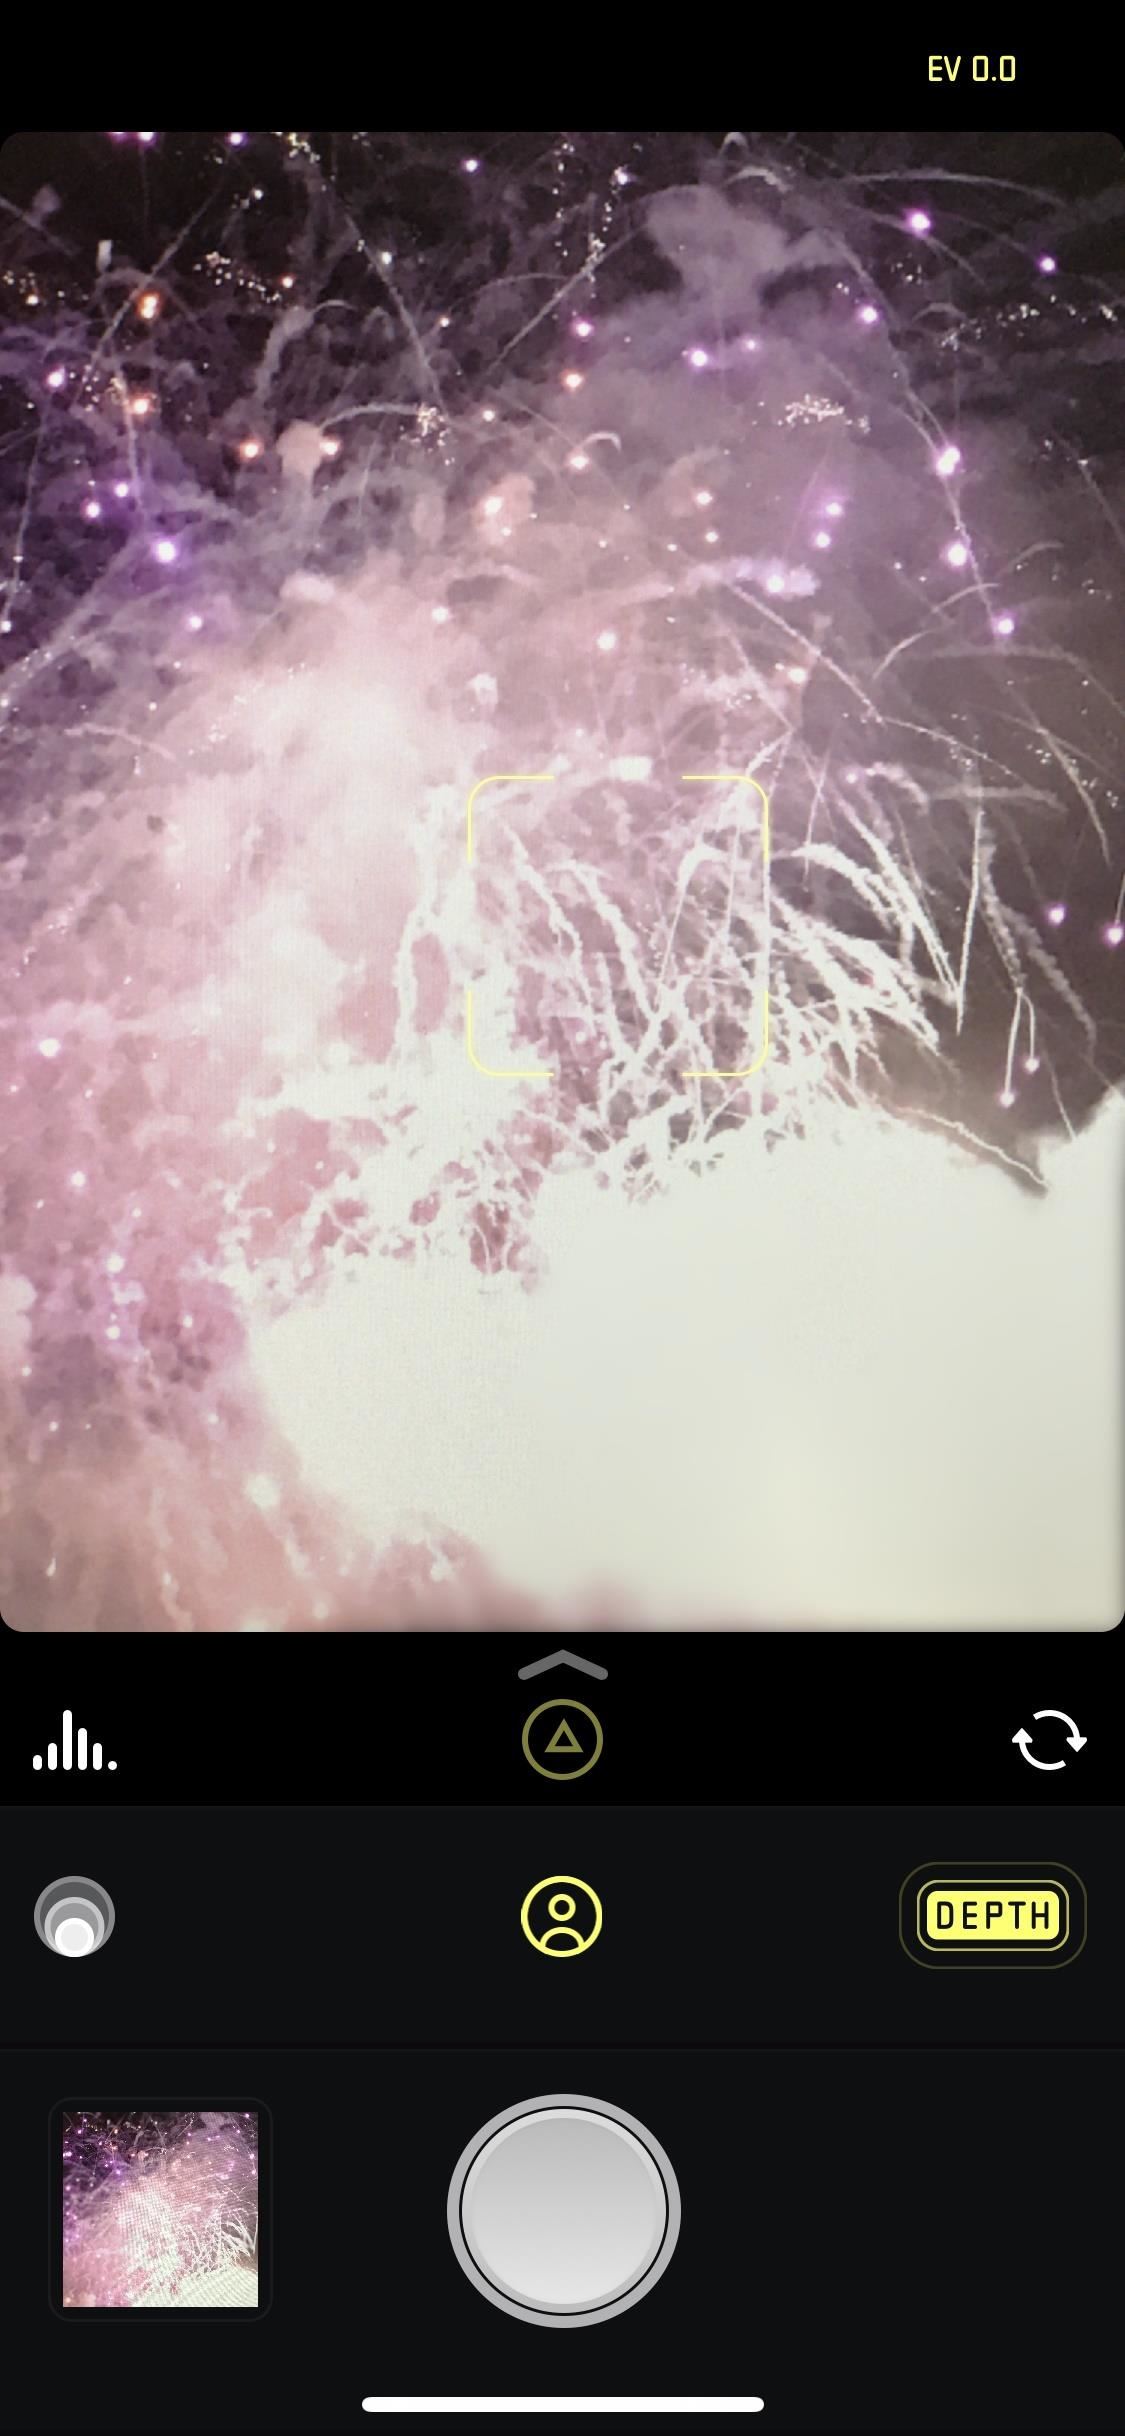
Slow Shutter Cam ($1.99) from Cogitap Software has been mentioned time and time again when it comes to creating motion blur and light trails. Halide ($5.99) from Chroma Noir will give you more control over your capture settings and lets you take RAW images, plus there are some cool things to play around with like "Depth Capture." These are just a few of the hundreds of photo apps that can play with.
If you can't seem to get any good photos of fireworks, you could also always fake it with apps such as Fireworks FX ($0.99), which lets you add fireworks to the background of any photo you have, making it appear as night even in day shots.
Just updated your iPhone? You'll find new emoji, enhanced security, podcast transcripts, Apple Cash virtual numbers, and other useful features. There are even new additions hidden within Safari. Find out what's new and changed on your iPhone with the iOS 17.4 update.


Be the First to Comment
Share Your Thoughts