

While there are a number of great screenshot apps available for the Mac, there’s really no need to install a third-party app if you want to take simple screenshots of your Mac’s screen. In this “how to,” we’ll show you the keyboard combinations that allow you to take various types of screenshots of whatever is displayed on your Mac’s Desktop. (But, keep it clean, OK folks?)
How To Take Screenshots Using the Mac Keyboard
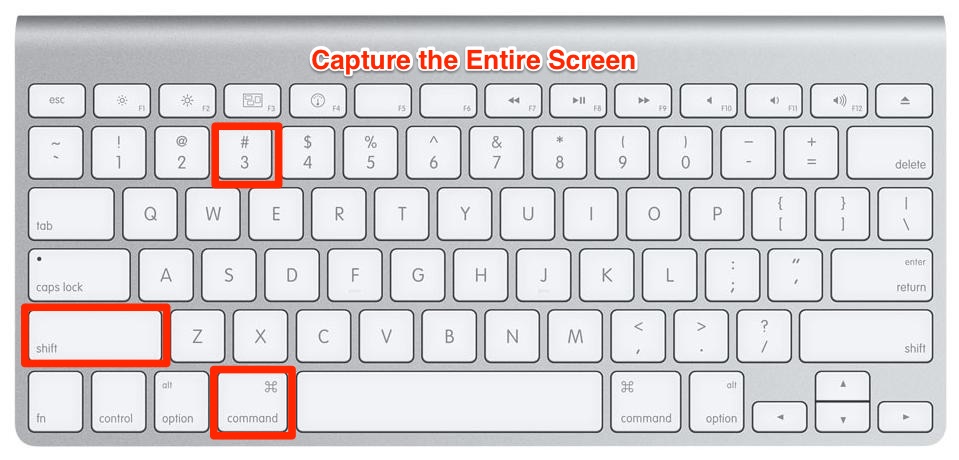
Capture the Entire Screen
To capture the entire screen, edge-to-edge and corner-to-corner, simply press “Command + Shift + 3” as seen in the shot below. You’ll hear a camera shutter sound effect, and you will have captured an image of your Mac’s entire display, which is automatically saved to your Desktop.
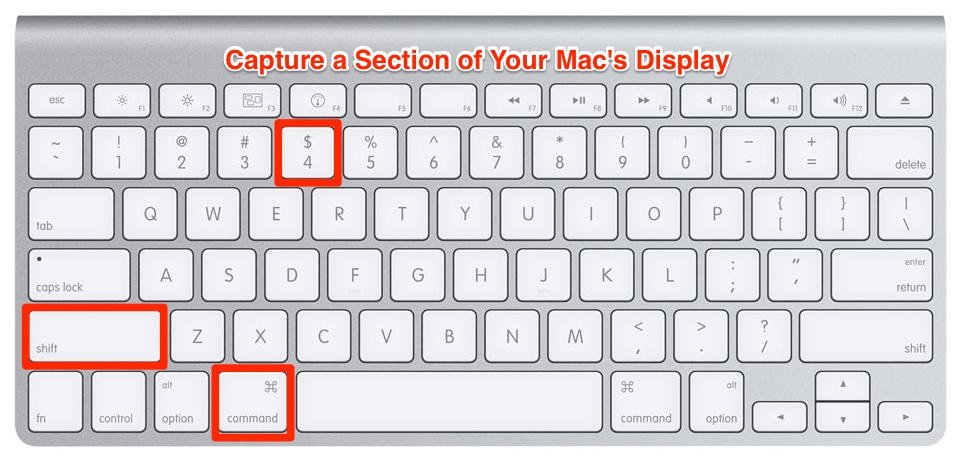
Capture a Section of Your Mac’s Display
You can quickly take a screenshot of a selected portion of your Mac’s display by pressing “Command + Shift + 4” on your keyboard, as seen below. You’ll see your Mac’s mouse pointer turn into a crosshair, which shows the co-ordinates of the crosshair. (Move it around, you’ll see the numbers change. Entertaining, no?)
Now place the crosshair anywhere you wish on the screen and click and drag crosshair to select a section of the screen. Once you’ve selected everything you want to capture, lift your finger off of your mouse or trackpad. You’ll hear the shutter sound effect again, and the screenshot will be automatically saved to your machine’s Desktop. (You can press the ESC key to cancel the capture process before completing it.)
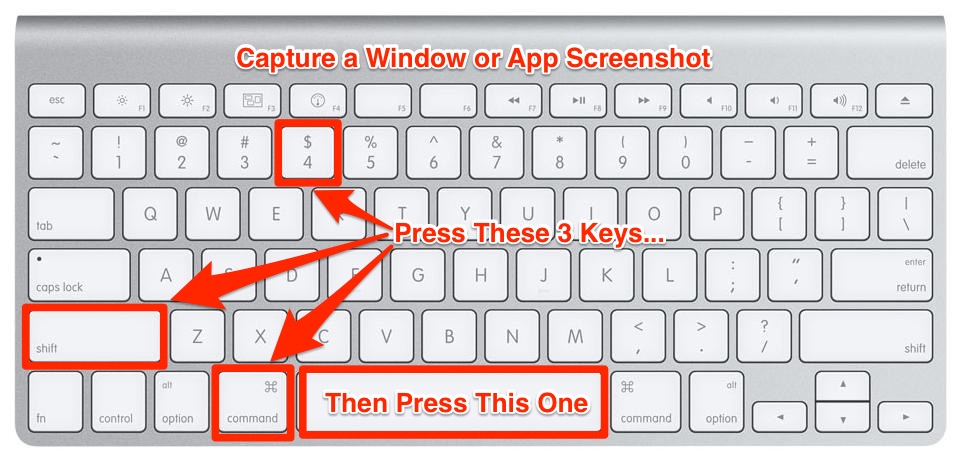
Capture a Window or App Screenshot
To capture just a particular app or other window on your display, press the “Command + Shift + 4” keyboard combo again, and then press the spacebar. Your mouse pointer will turn into a camera icon. Move the camera icon to whichever window you wish to capture. Click the window with your mouse, and a shot of the selected window will be captured and saved to your Mac’s Desktop. (You can press the ESC key to cancel the capture process before completing it.)
Capture a Screenshot and Save it to Your Mac’s Clipboard
By adding the Control key to any of the above keyboard combos, you’ll still capture the designated screenshot, but instead of being saved to your desktop, the shot is saved to your machine’s Clipboard, ready to be pasted into any document of your choosing.
So:
- Command + Control + Shift + 3 will copy a standard full-screen screenshot to the Clipboard
- Command + Control + Shift + 4 will add a screenshot of a selected area to the Clipboard
- Command + Control + Shift + 4 and then pressing the Spacebar and clicking on a window will add a screenshot of the window to the Clipboard
By using these easy to remember keyboard combinations, you can take a screenshot of whatever is displayed on your Mac’s monitor. No matter how disgusting that may be.
For more tips and tricks on how to make better use of your Mac, iOS device, Apple Watch, or Apple TV, be sure to visit the “How To” section of our website.
